What are the different types of records in the DriverReach system?
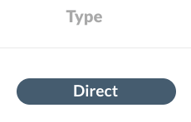
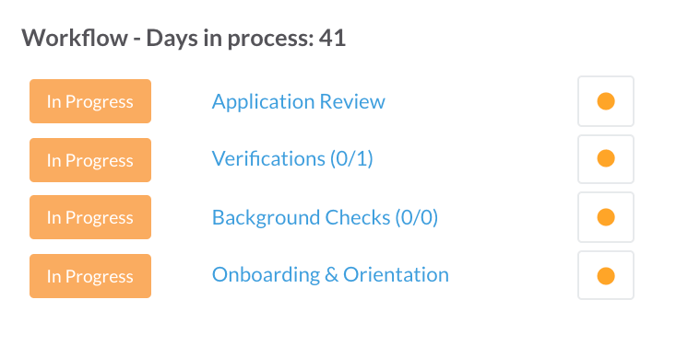
- Direct
-
This is an application that came in using the DOT link. In this scenario, the user created an account and signed off on the application & releases.
-
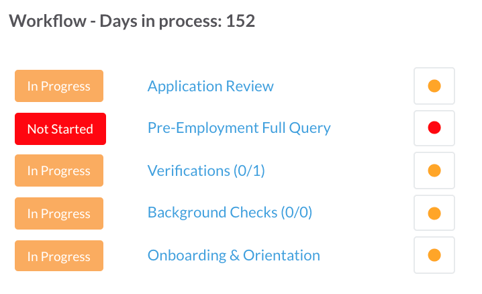
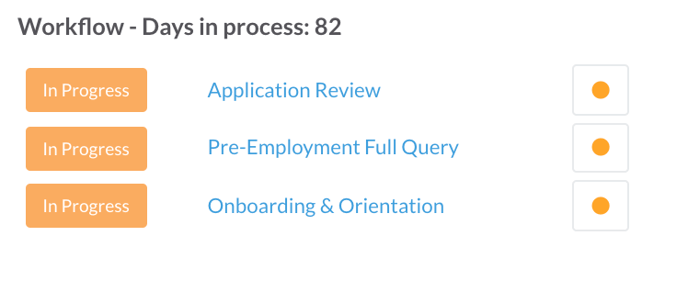
The workflow will populate:
-
-
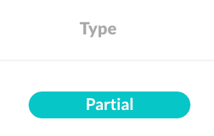
- Partial
-
This is an application that came in using the DOT link. In this scenario, the user created an account but did not provide the amount of work history as requested by the company, did not sign the application, and/or did not sign the releases.
-
The workflow will be limited to application review, pre-employment full query, and onboarding & orientation.
-
-
- Phone
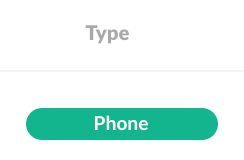
- This was created using the add phone app button.
- The applicant has not created an account or signed off on their application & releases. In this scenario, the recruiter needs to have the applicant create an account. To do this, use the DriverReach template labeled “Sign DOT Phone App”. The applicant will be taken to a screen to create an account using the email address on file and will be instructed to set their own password. From there, the applicant will be able to review their application and sign off on the application & releases.
- The activity timeline will state “application received” once the above steps were complete. Now the application will be listed as type “direct”.
- The workflow will not show up because the applicant hasn’t signed off on their application & releases or created an account.
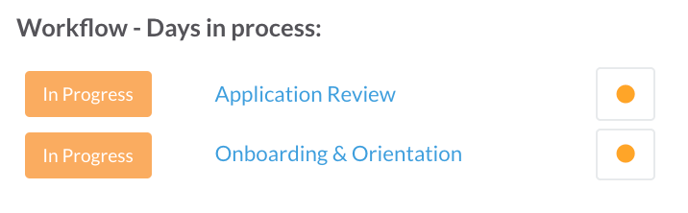
- Lead
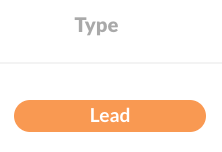
- This is a lead that came in using the DOT link or API. In this scenario, you will be able to see Name, Phone Number, Email, Location, Lead Source, Assignee, Position (if required or filled out) and some additional information (if filled out).
- The workflow will not show up because this is only a lead, but the stages will show up.
-
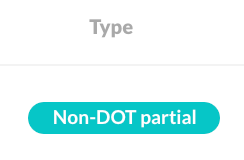
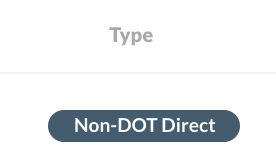
Non DOT Partial
-
- This is an application that came in using the Non DOT link. In this scenario, the user created an account but did not sign off on the application & releases.
-
The workflow will be limited to application review and onboarding & orientation
-
- Non DOT Sent
- This is the same as Non-DOT Direct. In this scenario, this application came in using the Non DOT link. The user created an account and has signed off on the application & releases.
-
The workflow will populate
-
-
The activity timeline will show that the application was received
-
-
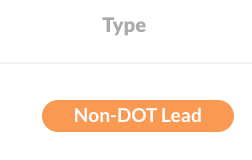
Non DOT Lead
-

-
- This is a lead that came in using the Non DOT link or API. In this scenario, you will be able to see Name, Phone Number, Email, Location, Lead Source, Assignee, Position (if required or filled out), and some additional information (if filled out).
- The workflow will not show up because this is only a lead.
Tactical Rundown:
To see the different types you will want to add a column to your view.
Step 1: Click on Applicants & Personnel in the dashboard

Step 2: Modify columns

Step 3: Select type

Step 4: You have the ability to move this column around by hovering over “Type” and clicking on the right or left arrows

Step 5: Save your view or create a new view

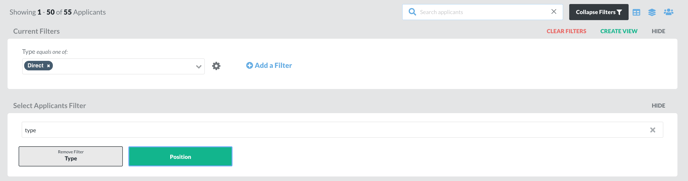
Or you can filter by the type
Step 1: Click on Applicants & Personnel in the dashboard

Step 2: Filter applicants

Step 3: Add a filter

Step 4: NEED TO ADD 
Step 5: Save your view or create view