DriverReach offers integration with Zapier, a powerful tool that allows users to automate work between over 5000 web applications. Read on to learn more!
Zapier Overview
Zapier is a tool that allows you to connect your favorite web applications together and move information between them automatically. When two or more apps connect and perform repetitive tasks between them, it’s called a “Zap”. Within this section, some common questions and definitions follow so that you can familiarize yourself with Zapier vocabulary. If you are ready instead to skip to integration instructions, click here. If you are looking for a more technical explanation than this article provides, please refer to DriverReach's technical documentation about Zapier apps.
What is a Zap?
A Zap is a way of connecting separate applications to create an automated workflow between them.
What is a Trigger?
A trigger is an event that kicks off your automated workflow.
What is an Action?
An action is the response to the trigger event. This is where the work of the integration happens.

What is a Task?
Tasks can be thought of as individual instances of an action. Most of the time, there will just be one task in your DriverReach-connected Zaps. For example, when sending a lead from a form submission to DriverReach, the action is “Create a Driver Lead” and the task is the actual sending of the submitted form data to a single lead in DriverReach. Some Zaps might have more than one task per Zap (e.g. sending multiple leads to DriverReach), but that is not a common use case for the DriverReach app.
Integrating DriverReach and Zapier
Many DriverReach users appreciate being able to automate tasks with the help of Zapier. In the example steps that follow, we'll set up a Zap so that new driver leads captured in Facebook are automatically created in DriverReach. The first section highlights the process of setting up a trigger using Zapier, and the second section explains creating an action that occurs in response to a trigger event. In this case, the trigger will be the creation of a new Facebook driver lead, and the action resulting from that trigger event will be that the Facebook lead for that driver is automatically created in the DriverReach platform.
Setting Up a Trigger
Step 1
Visit Zapier.com and create an account or login. After login you will be taken to the dashboard page where you will click on “Make a Zap!”

Step 2
This will take you to the Zap editor. First, select your ‘Trigger’ app. This is the app your Zap will watch for new information to trigger the workflow. For example, Facebook (make sure you have your "Lead Add Form" created).

Step 3
Select the specific trigger. For example, "New Lead" (so you can capture new driver leads from Facebook).

Step 4
Connect or select your account. A pop-up window will appear for you to authorize Zapier to connect to the app.
Step 5
Click the "Save + Continue" button to move to the next section.
Step 6
As you enter your details in a field or make a selection, be sure to save your progress. Enter the correct information in the "Required" fields and any additional information you wish to include in the optional fields.
Step 7
Continue and you will be able to test the trigger to draw in a sample into an editor designed to help you build and test the rest of your Zap. It represents the information the trigger will return when it runs.

Step 7
Selecting "Fetch and Continue" will load a sample from Zapier.
Step 8
The next page will be a success or default message allowing you to review the captured information to see the data available to use in the rest of the Zap.
Setting Up an Action
Step 1
Once you are happy with your example data, click continue to work on your "Action" and enter the name of the app you want to use as your action. In this example, we will use DriverReach.
Step 2
To connect to DriverReach, you will need to enter a username (public API key) and password (secret API key)--these API keys can be requested from DriverReach's product support team at help@driverreach.com.

Step 3
From there, select the desired action, save your progress, and move on to the edit template step which provides instructions for your Zap. This template tells DriverReach what to do with the "Action" data. Fill out the template and click continue.

Step 4
The next page is a way test this new action to see if it is working properly. The information loaded on this page is pulled from when you set up your "Trigger". If all looks good, click create and continue.

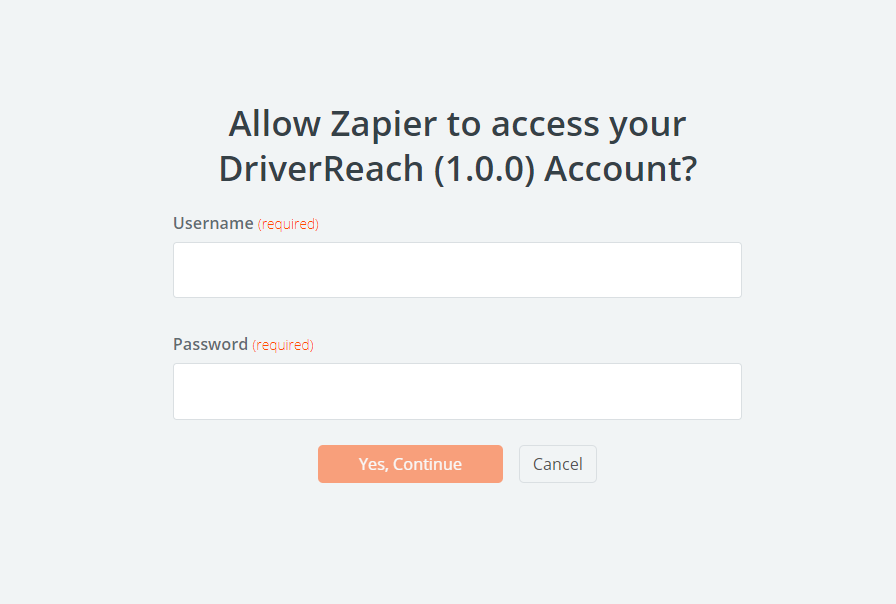
Step 5
Select connect an "Account" and request the API Keys from DriverReach's product support team at help@driverreach.com. Enter the public API key given to you for the "Username" and the private key given to you for the "Password".