Applicant stages are important building blocks for creating a logical, organized workflow for your recruitment team and a seamless hiring process for your applicants. When an applicant's stage is correct within the DriverReach system, that applicant receives essential communications and recruiters receive accurate notifications about that applicant's progress. This article explains how to modify an applicant's stage to make sure your recruitment process is as efficient and as successful as possible. This can be accomplished for a single applicant from the profile page or for multiple individuals through bulk actions.
From the Profile Page
This is the method to employ for those wishing to change a single individual's applicant stage. To change the applicant stage for multiple individuals, click here to find instructions to save time by using the bulk actions tool.
Step 1
First, locate the individual's record. This may be done in one of two ways:
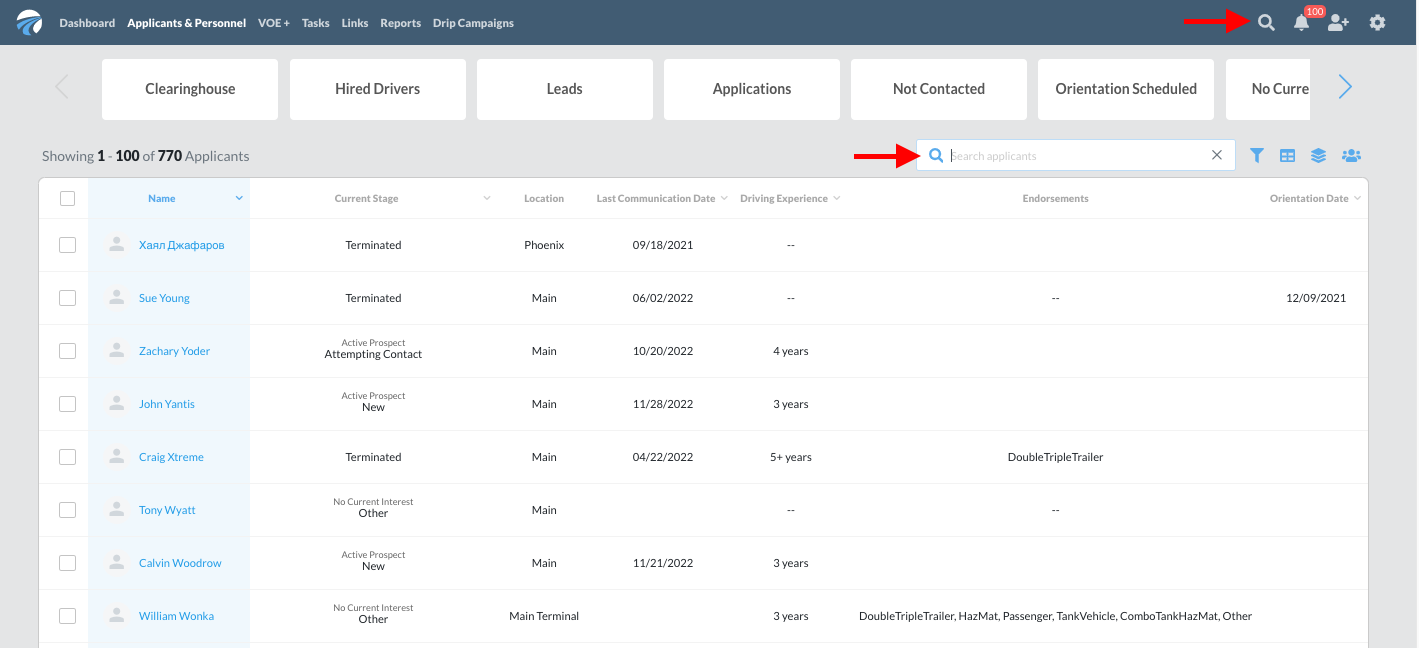
- From any page, type the applicant's name into the global search box after clicking on the magnifying glass icon located on the right side of the top blue menu bar.
- From the “Applicants & Personnel” page, you may employ any filters you would like to use for your search and then type some or all of the individual’s name into the “Search applicants” box on the right above the applicant table.
Step 2
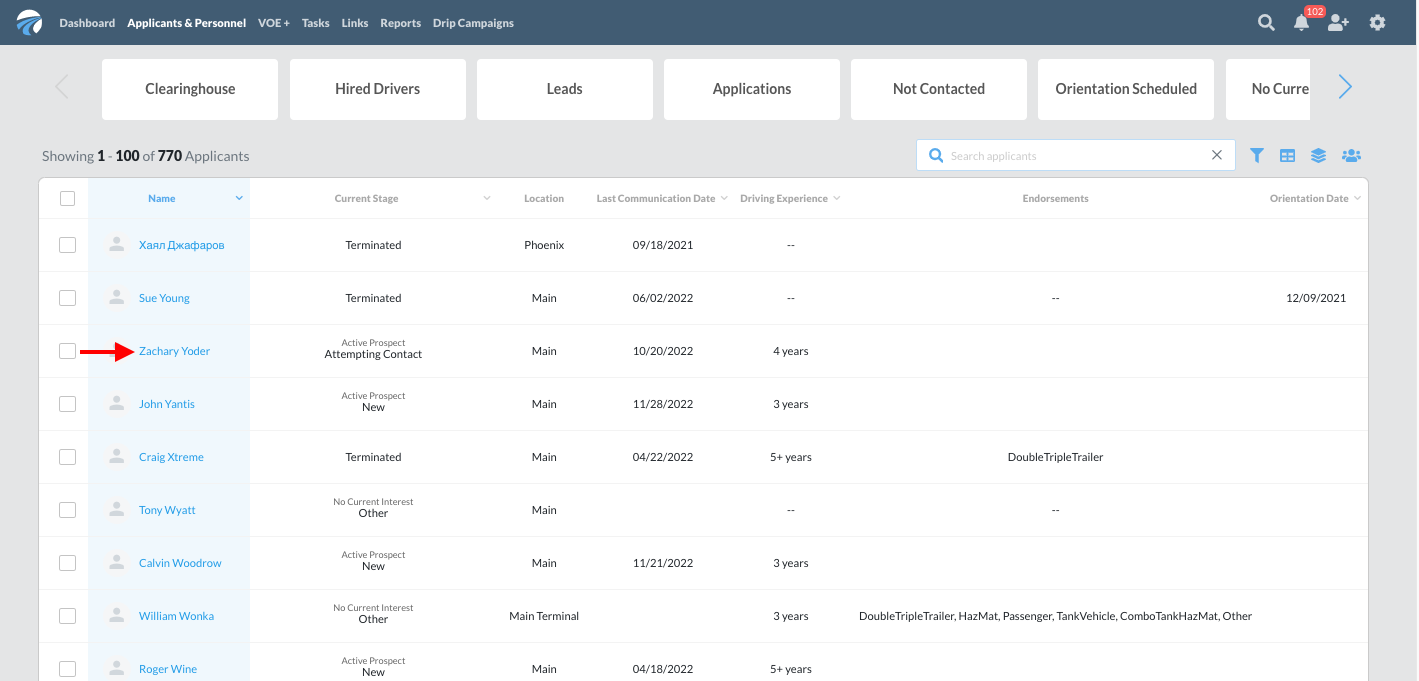
Once the appropriate record is located, click on that individual's name to open the record.
Step 3
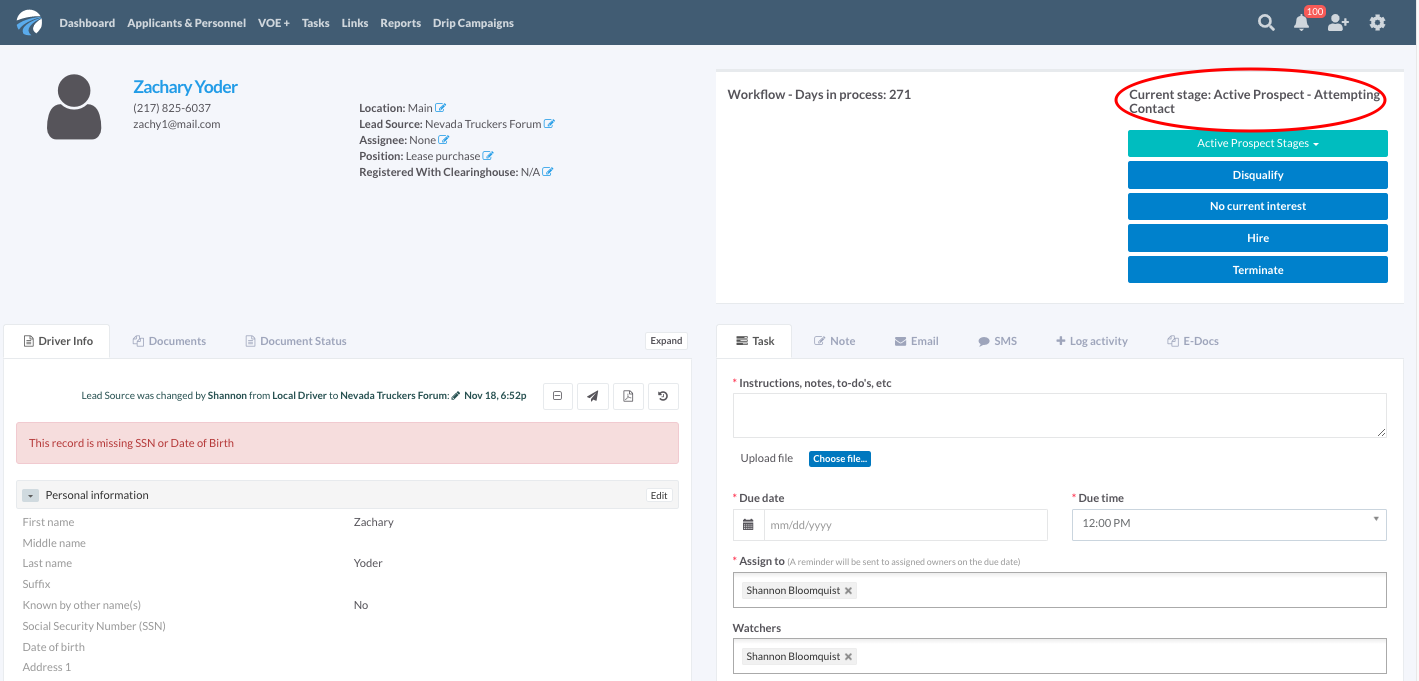
The individual's current applicant stage can be found listed in gray in the upper right-hand corner of the screen.
Step 4
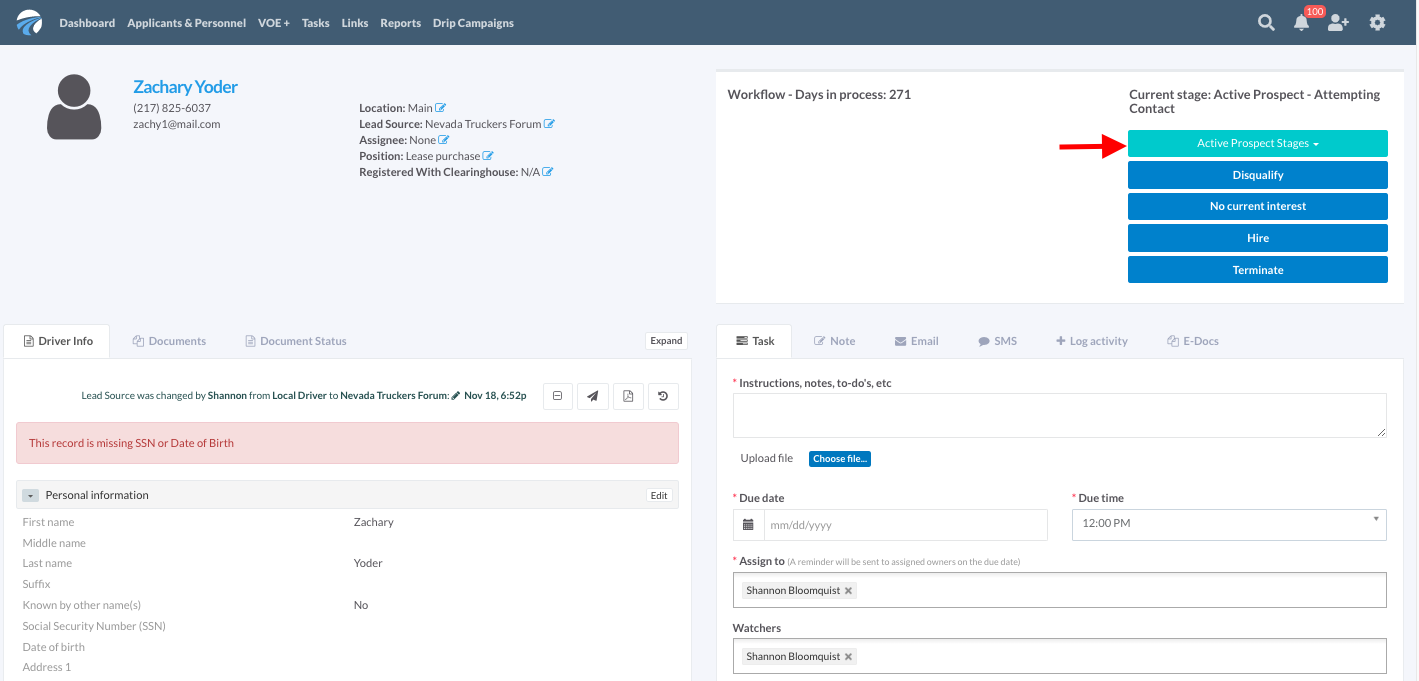
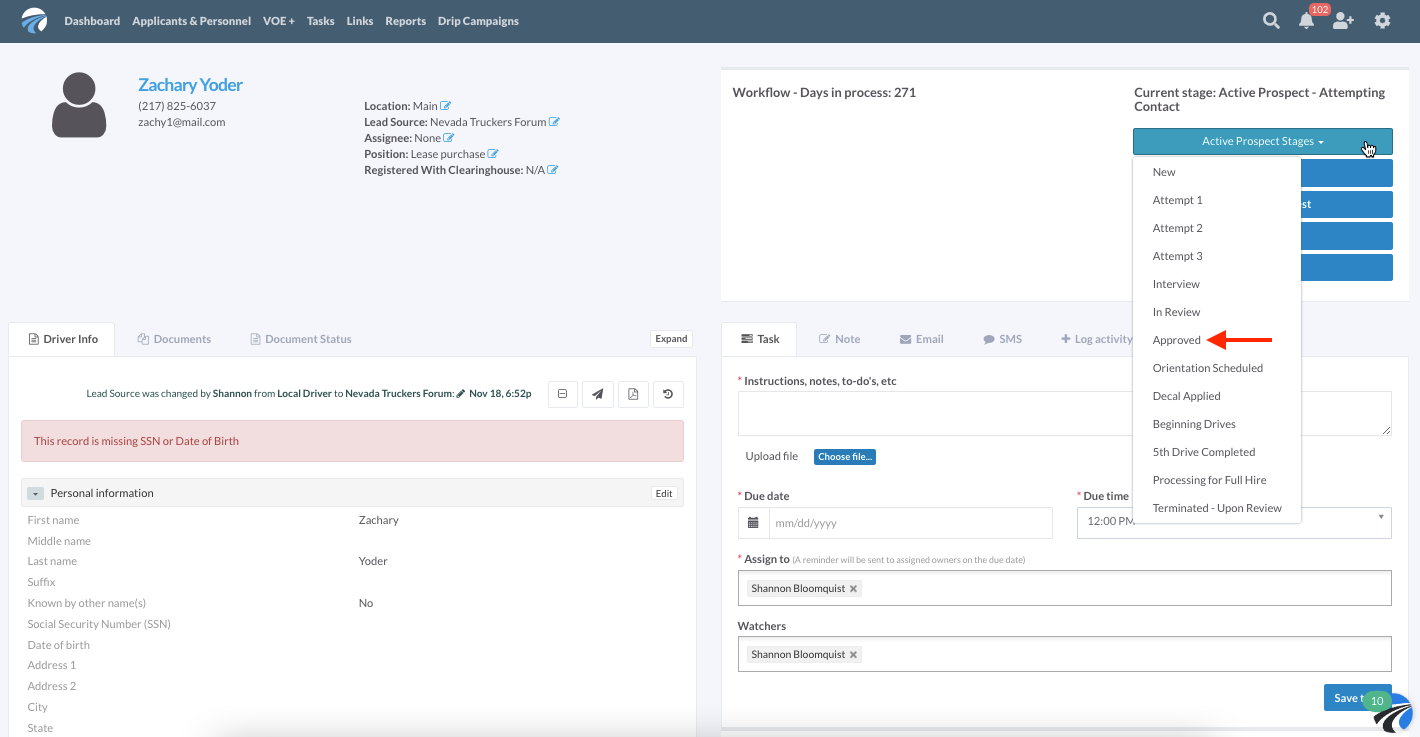
Change the applicant stage by clicking on the aqua button with a drop down menu labeled "Active Prospect Stages" located in the upper right-hand corner of the applicant's record.
Step 5
From the drop-down menu that appears, select the appropriate stage for the applicant from the list of choices. In this example, we will be changing this individual's status from "Attempting Contact" as stated on his profile to "Approved" by selecting that option from the list of choices.
Step 6
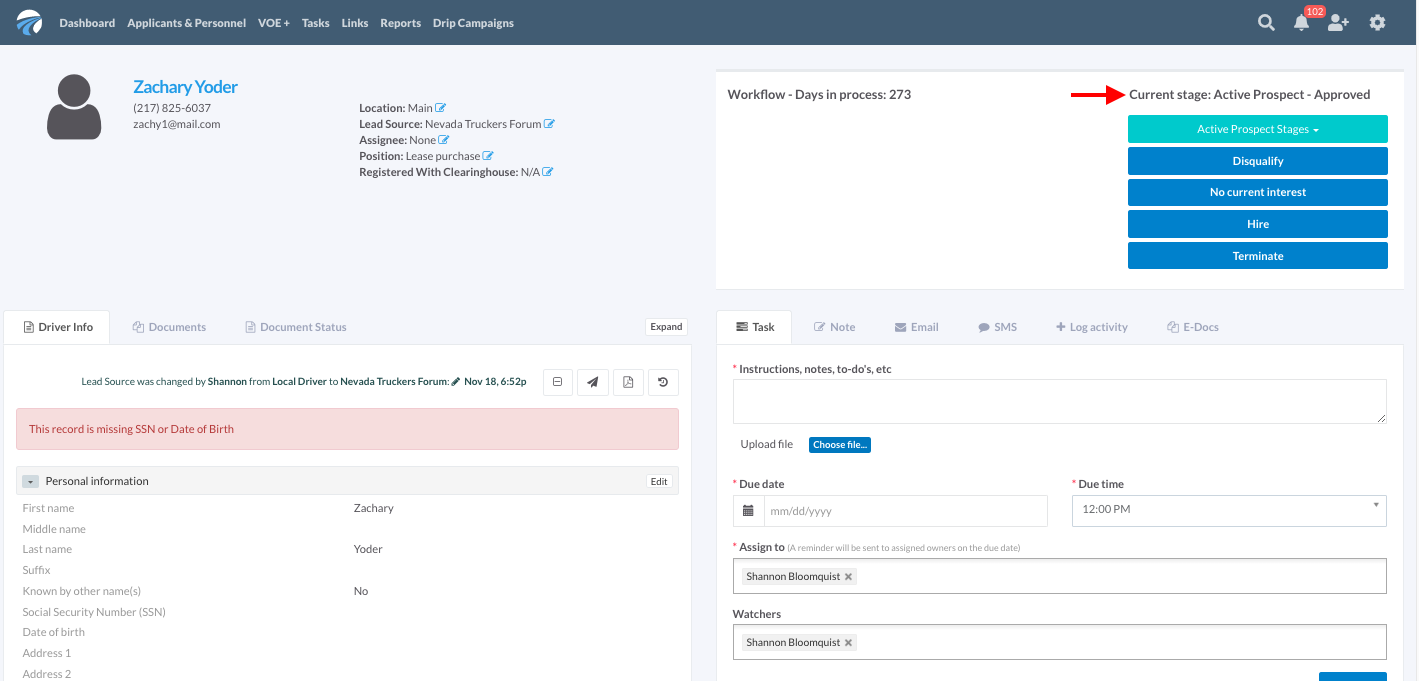
The applicant record that has been modified will now list the new stage as seen below.
Using the Bulk Actions Tool
This is the method to employ for those wishing to change the applicant stage for multiple individuals at once. To change the applicant stage for one individual, click here to find instructions for doing so from the applicant profile page.
Step 1
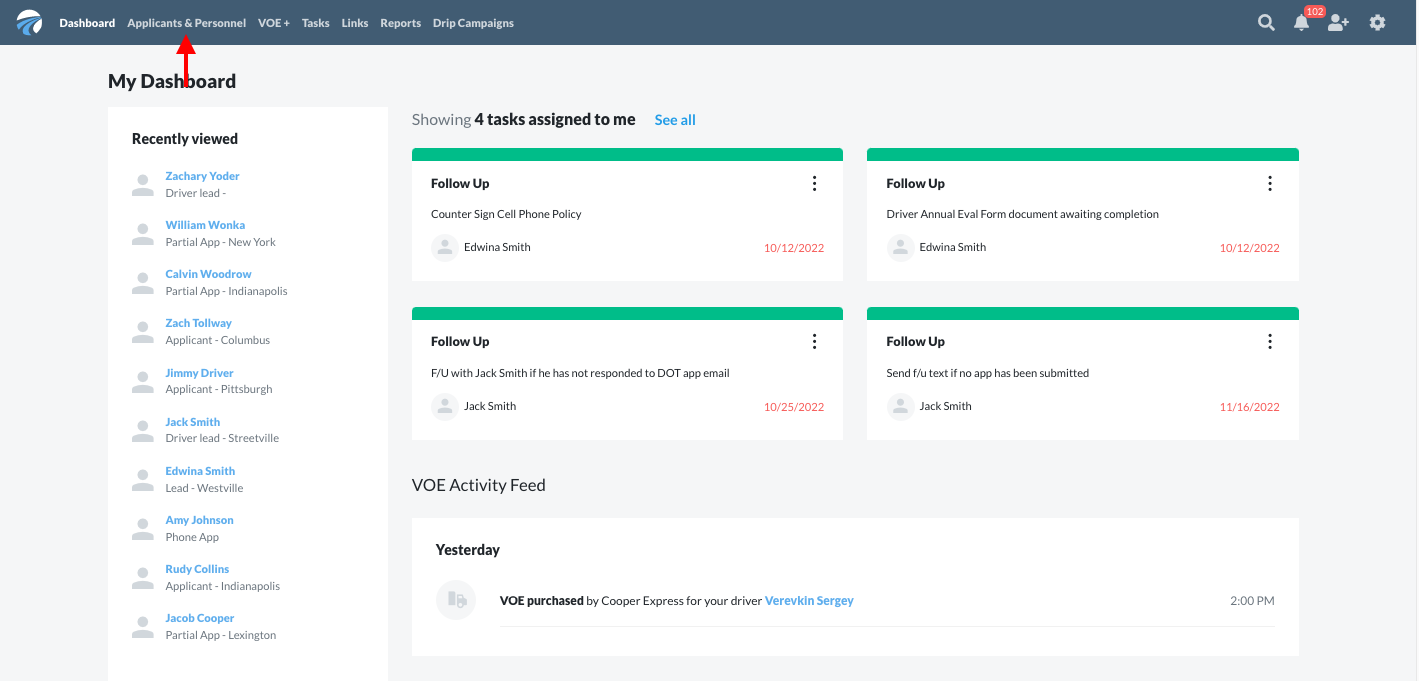
From any page, select the "Applicants & Personnel" tab within the main blue navigation bar.
 Step 2
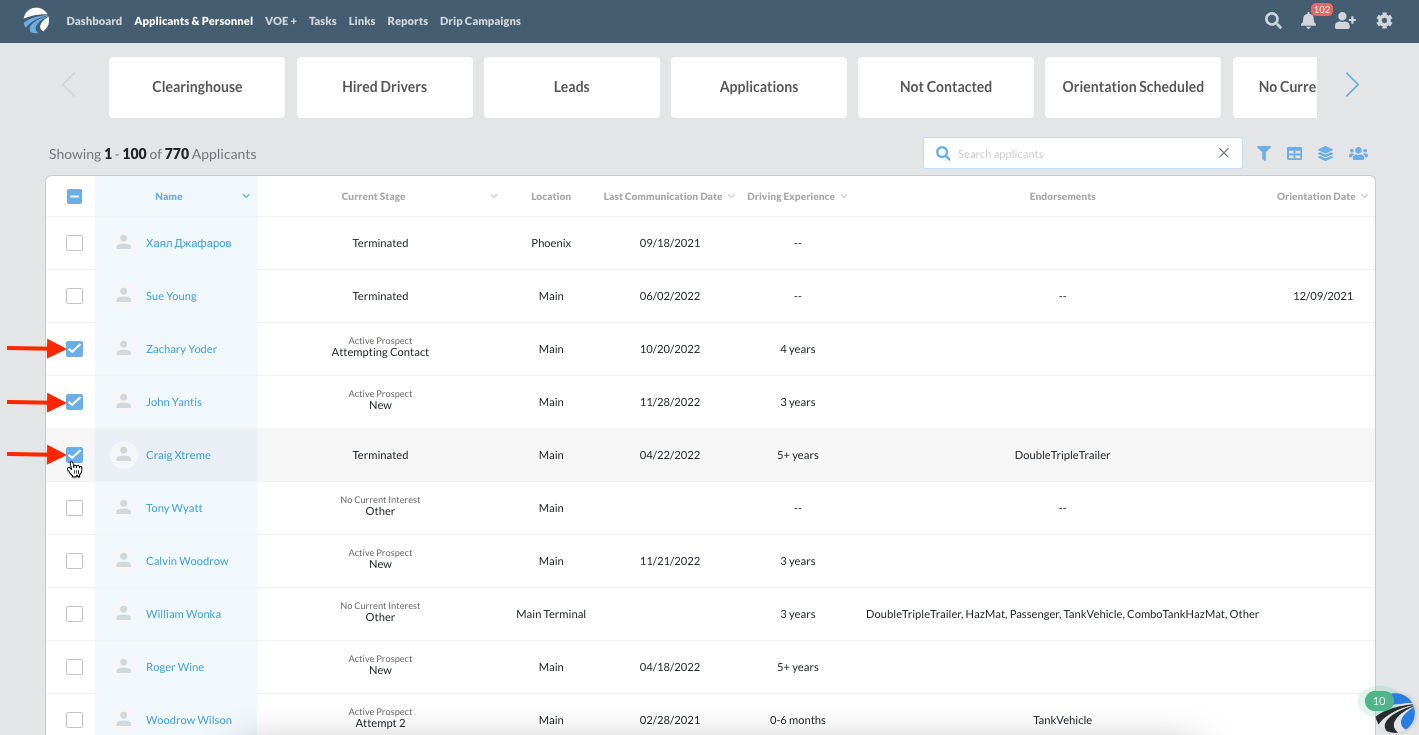
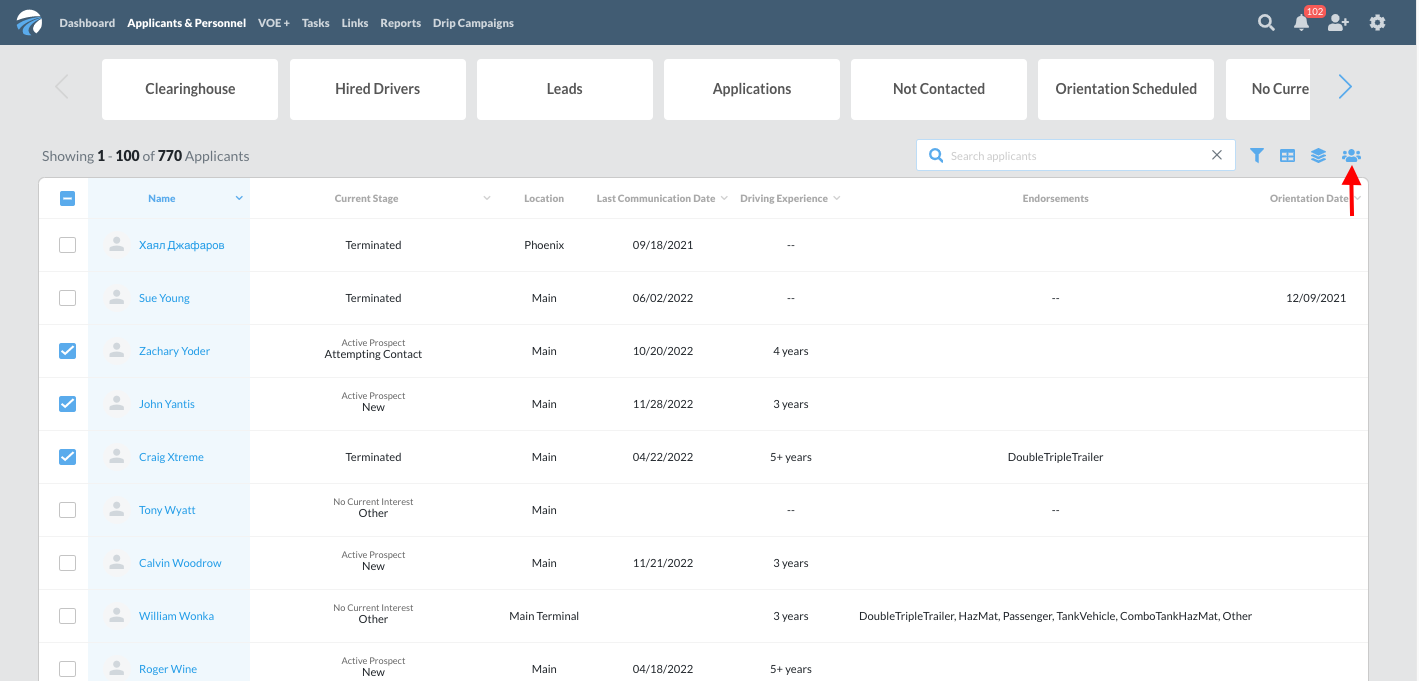
Select the individuals for whom you wish to modify the applicant stage by checking the boxes next to their names.
Step 3
Once all individuals have been selected, click on the "Bulk Actions" icon. It looks like three blue silhouettes and is located in the upper right-hand corner above the applicants and personnel table.
Step 4
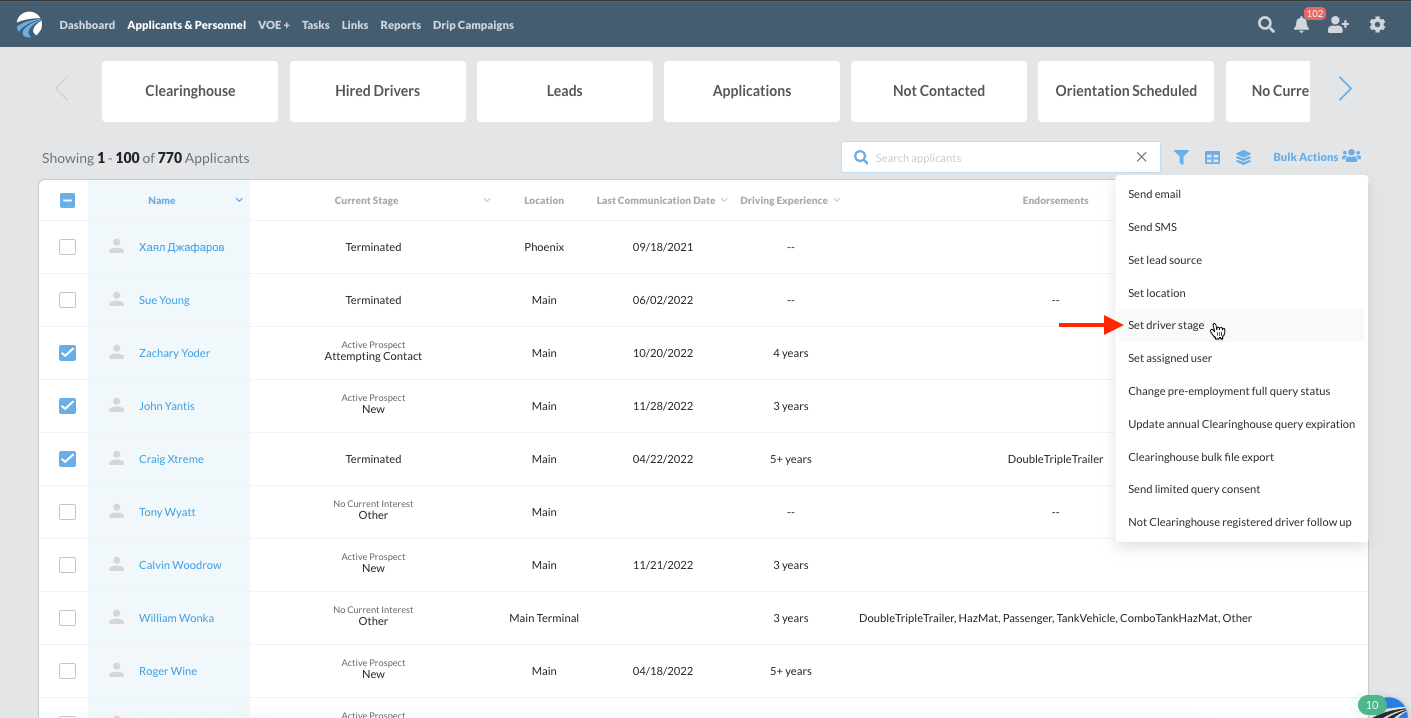
A drop-down menu will appear; select the "Set driver stage" option from the list.
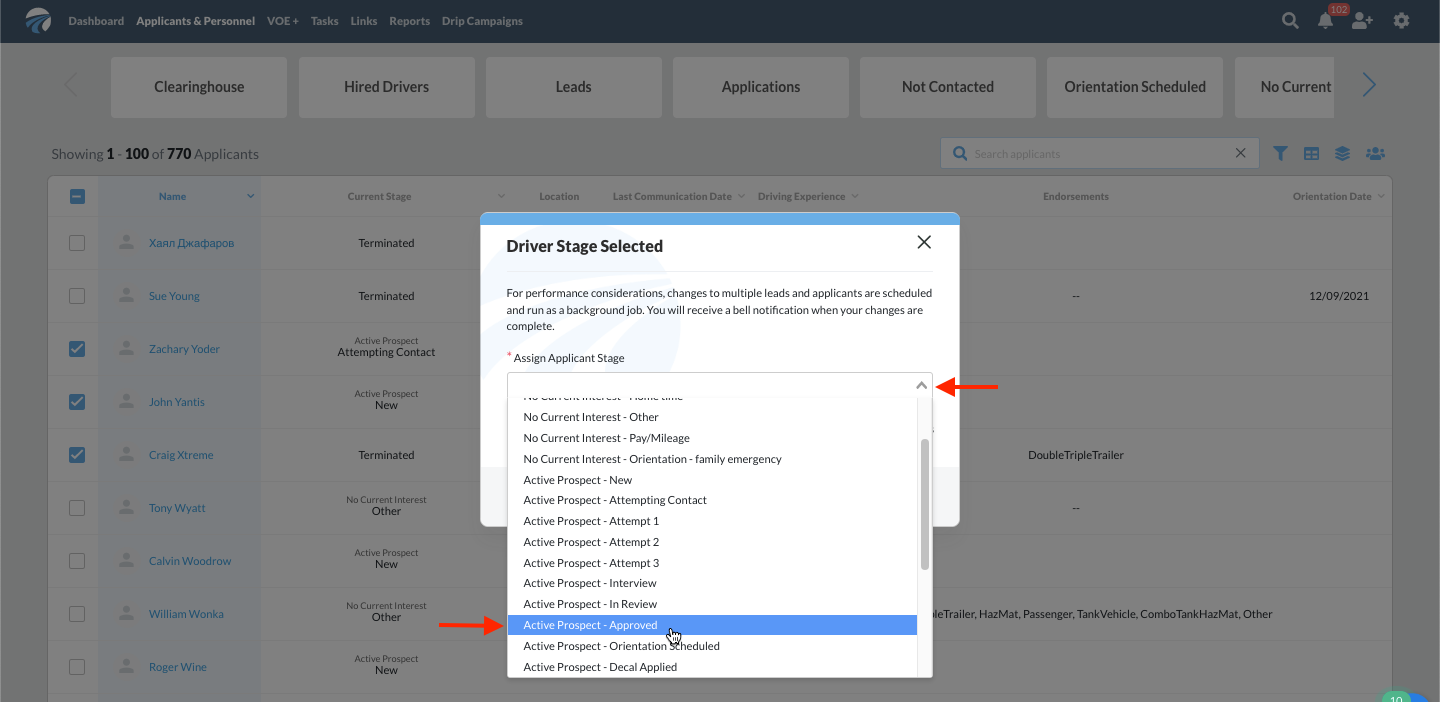
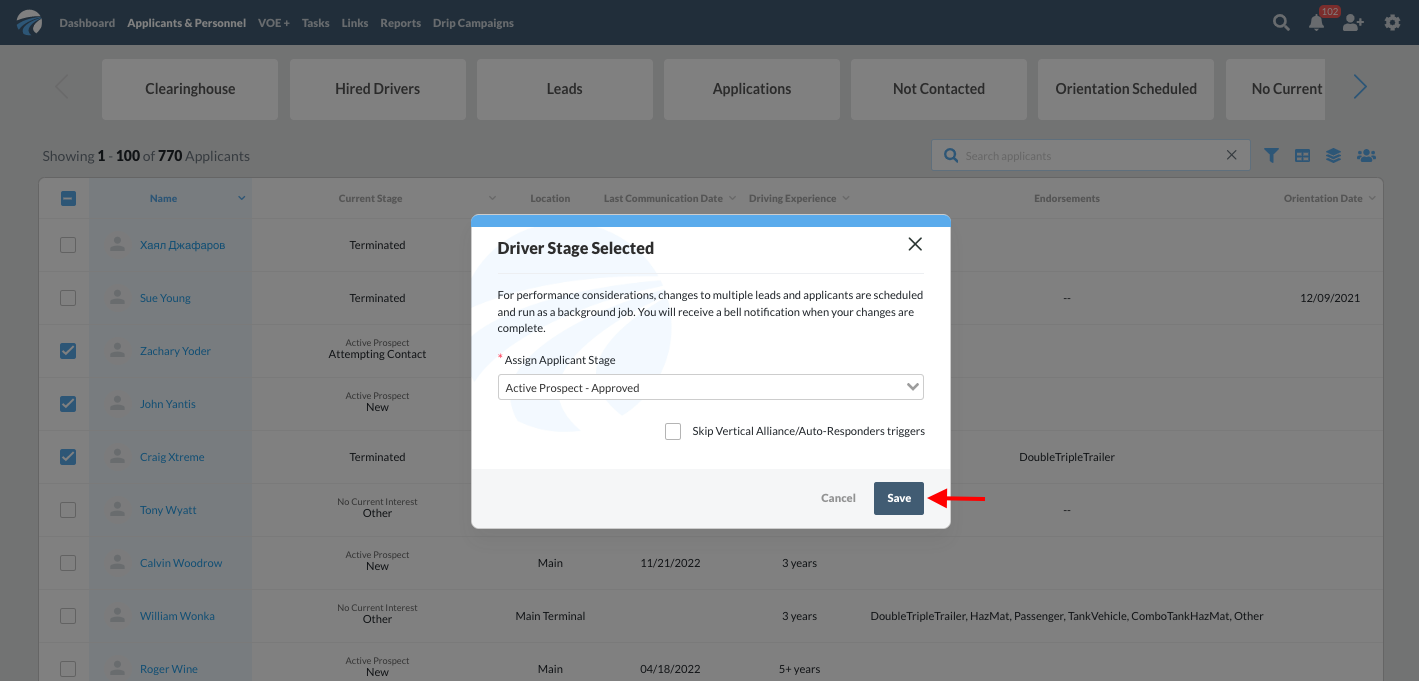
In the pop-up window that appears, click on the driver stage menu to open a drop-down menu from which you may choose the appropriate stage for these individuals. In this case, we will be changing the stage for all three of the applicants we've selected to "Active Prospect - Approved".
Step 6
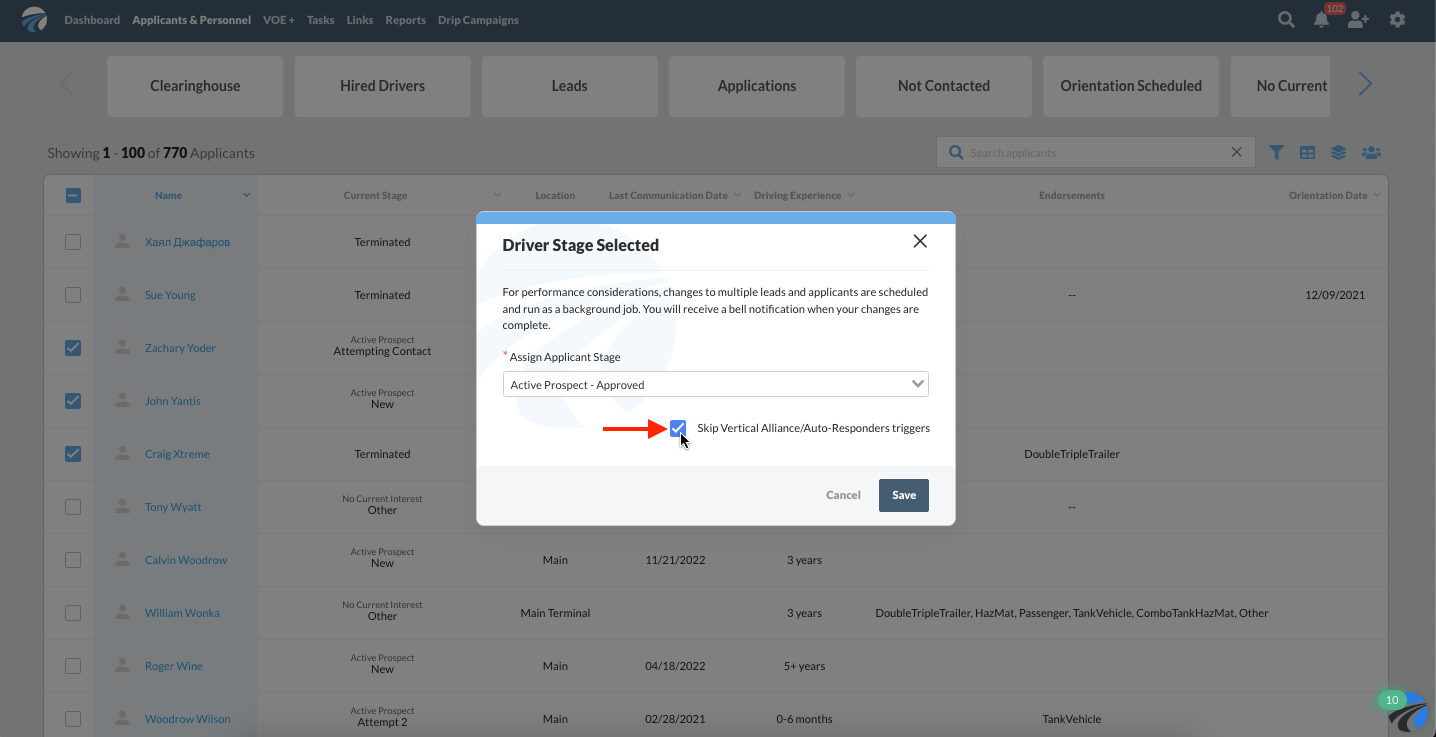
A small checkbox labeled "Skip Vertical Alliance/Auto-Responders triggers" is located underneath the stage selection drop-down menu. Checking this option will disable any vertical alliance or auto-responder triggers set up within the system that would otherwise have been activated by this change in driver stage. Alternatively, you may leave the box unchecked if you do not wish to disable these triggers.
Step 7
Once you have made all of your selections, click the blue "Save" button to keep these changes; alternatively, you may select the white "Cancel" button if you choose not to change the stage for your selected individuals.
Step 8
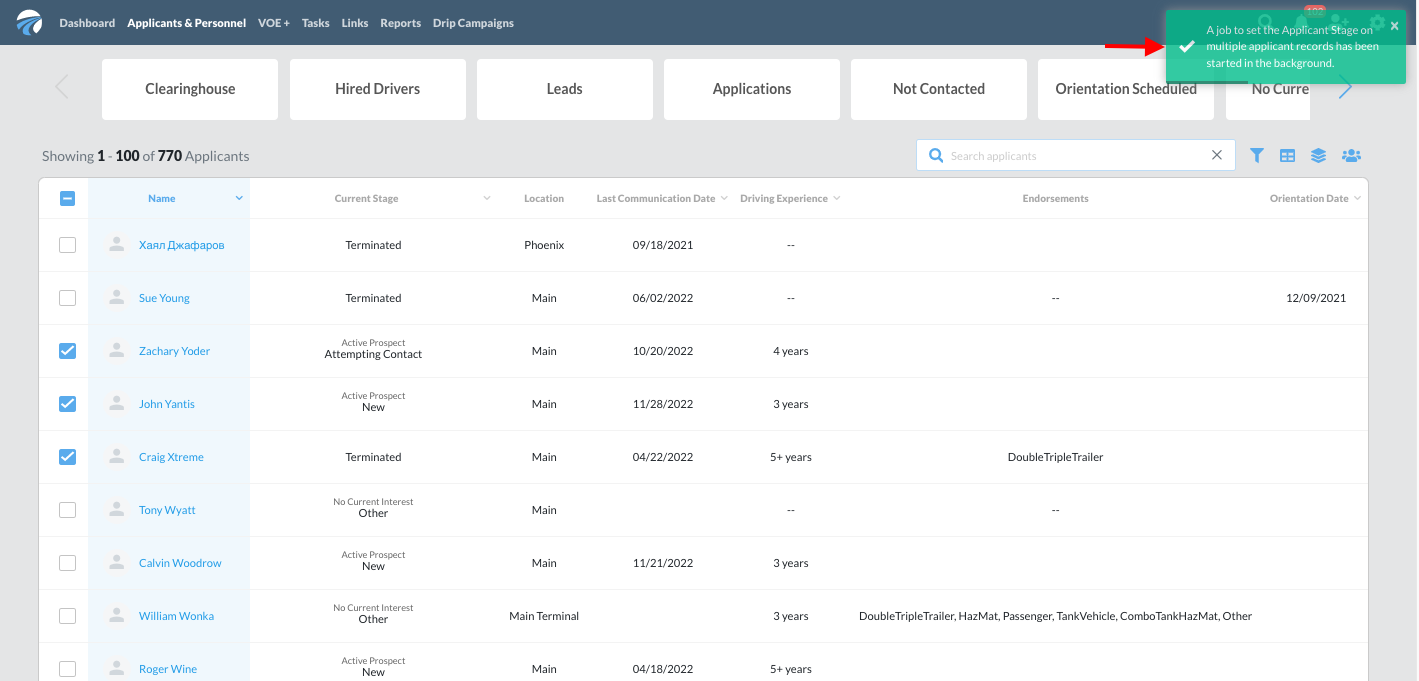
Clicking "Save" will bring up a small green notification in the upper right-hand corner of the screen confirming that a job to set the applicant stage for the selected individuals has been started in the background.
Step 9
Once the job is complete, opening any applicant record selected during the bulk action steps above will confirm the updated stage you've set for that individual is listed in his or her applicant profile.