The DriverReach system efficiently generates unique URLs for your applications based on the lead source as well as the location to which the applicant is applying. These unique links allow users to send applications to specific recruiters and track link performance to find out which lead sources work best for which locations. This article explains how to add a location or edit an existing location in the DriverReach system in order to create these unique links and take advantage of the invaluable data these URLs will provide.
Add a Location
Step 1
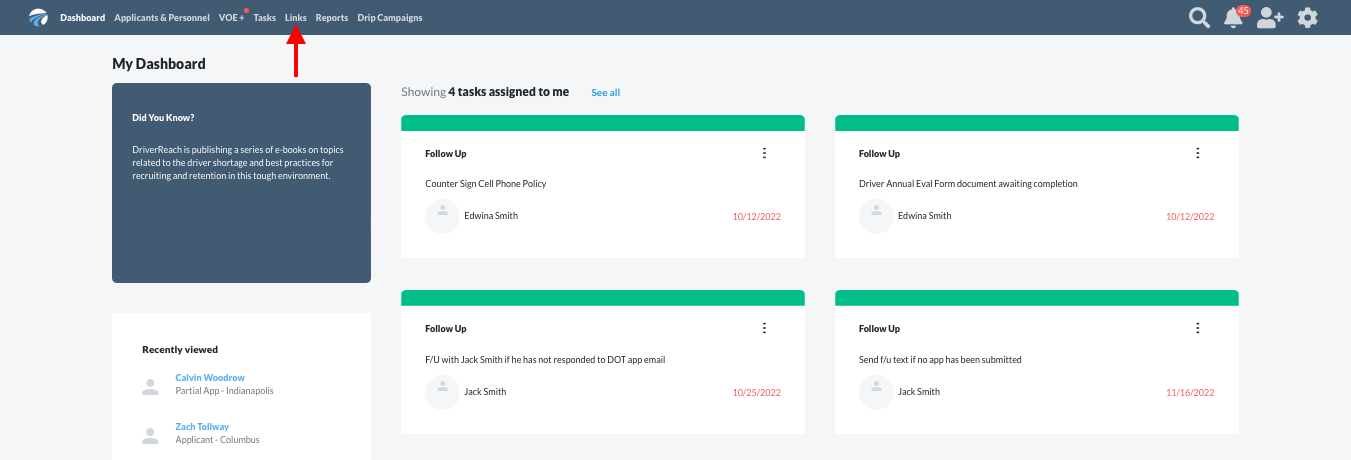
From the "Dashboard" page, click on the “Links” tab on the main blue navigation bar.
Step 2
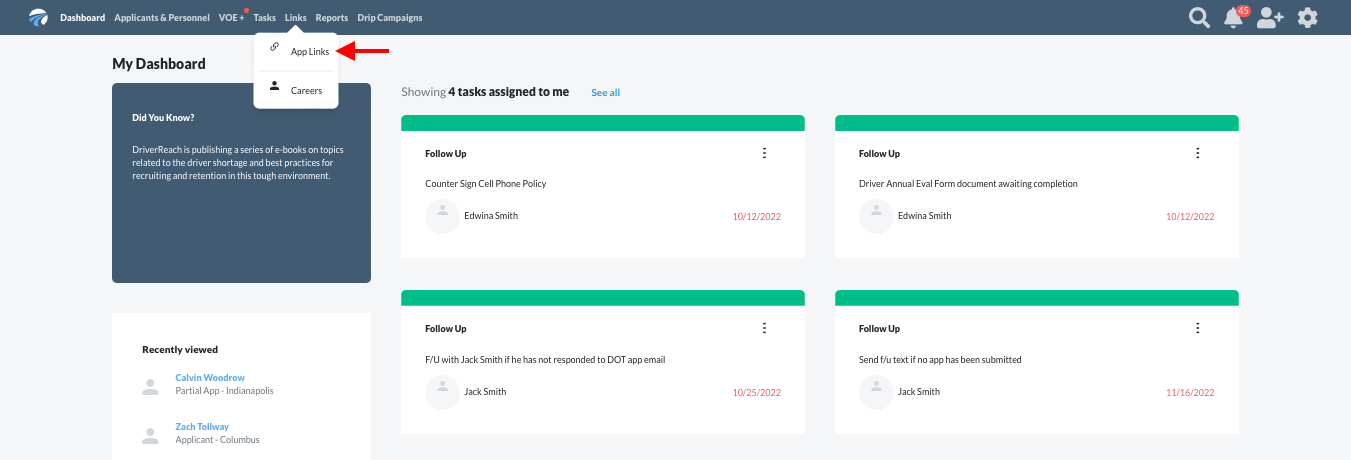
From the drop-down menu that appears, select the “App Links” tab.
Step 3
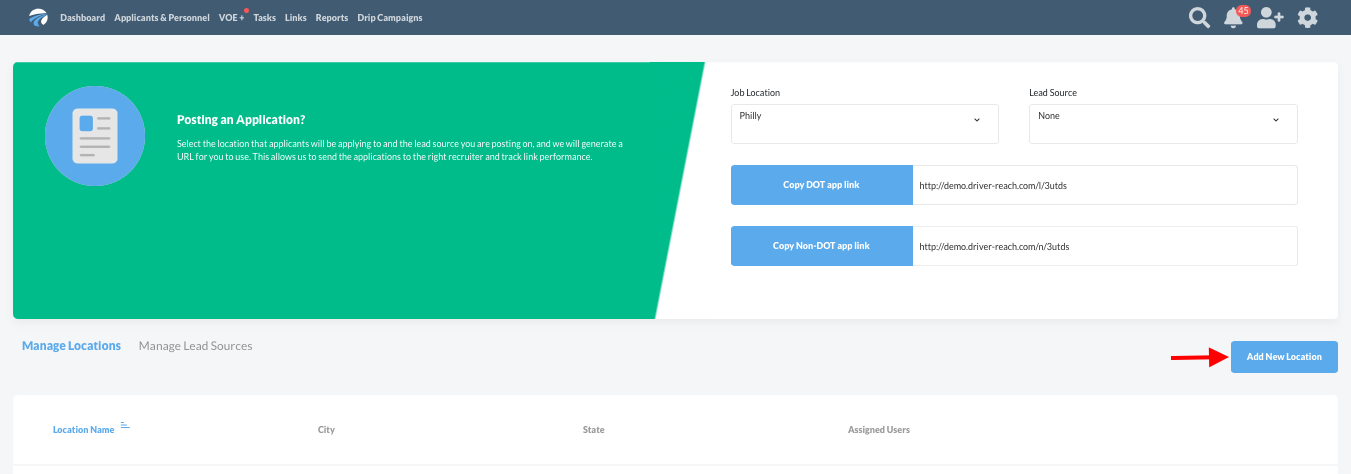
Click on the blue “Add New Location” button located on the right side of the page just above the “Manage Locations” chart.
Step 4
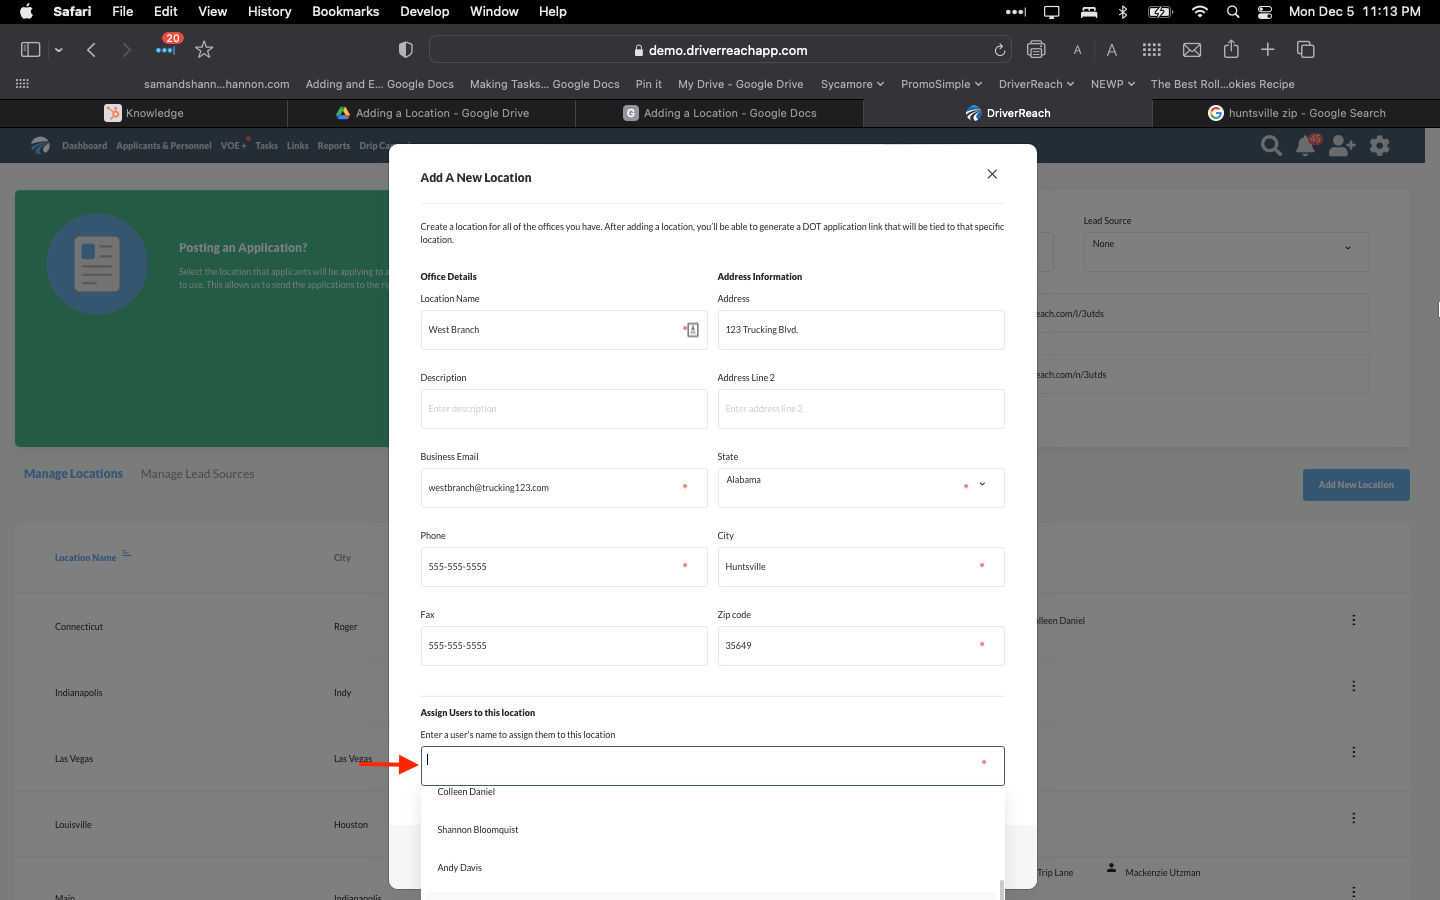
In the pop-up window that appears, add information about the new location. Required fields are indicated by a red asterisk; these include the location name as well as the user(s) assigned to that location, which is selected from a drop-down menu as seen below. Optional fields include description, address, phone, fax, and business email (using an admin’s email address is recommended for this field).
Step 5
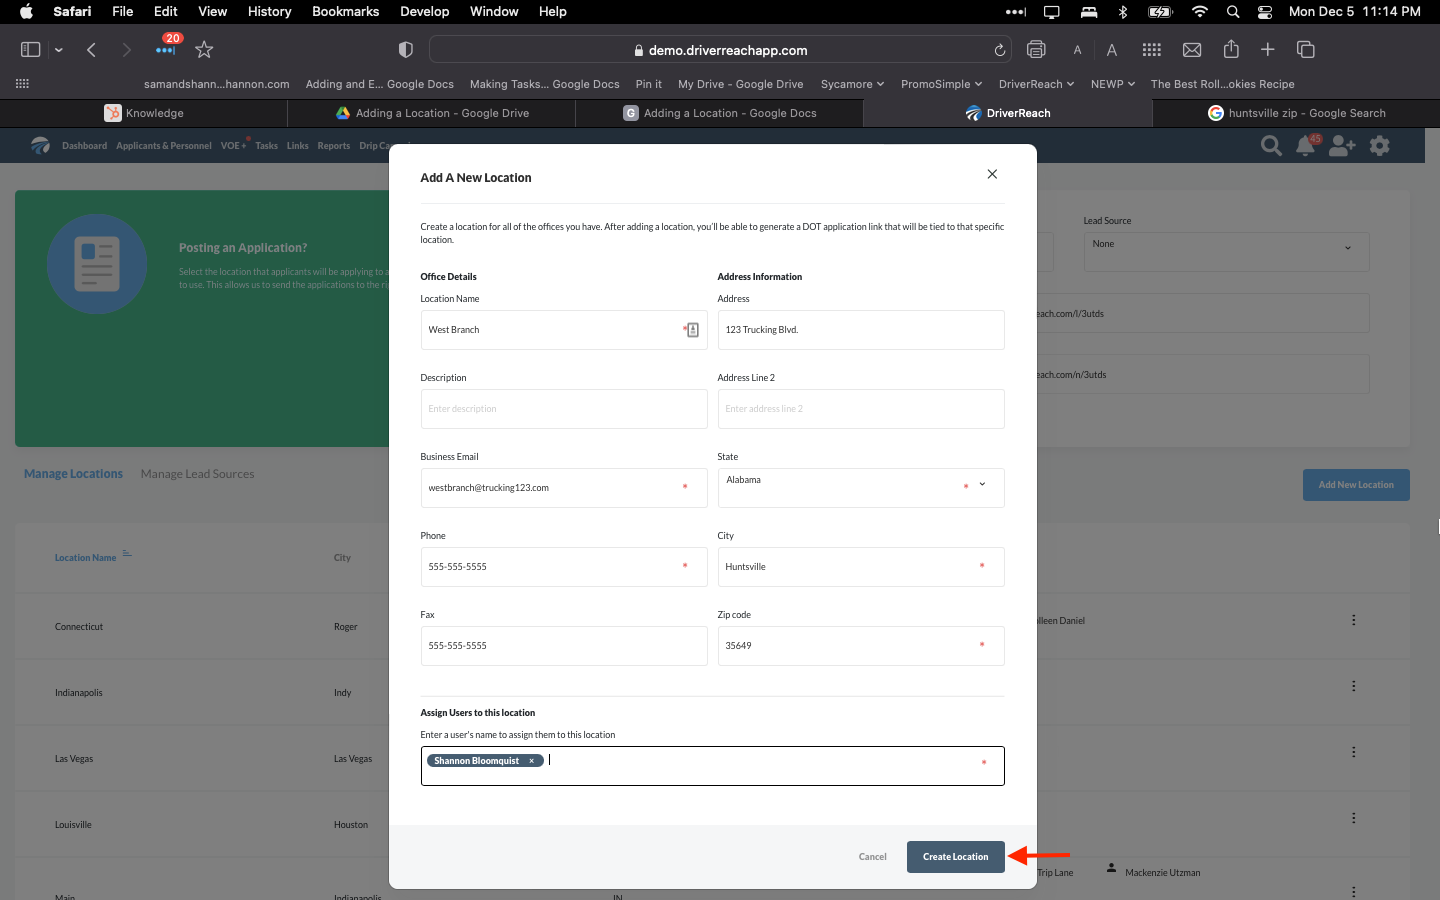
After inputting the information, click on the blue “Create Location” button to save it.
Step 6
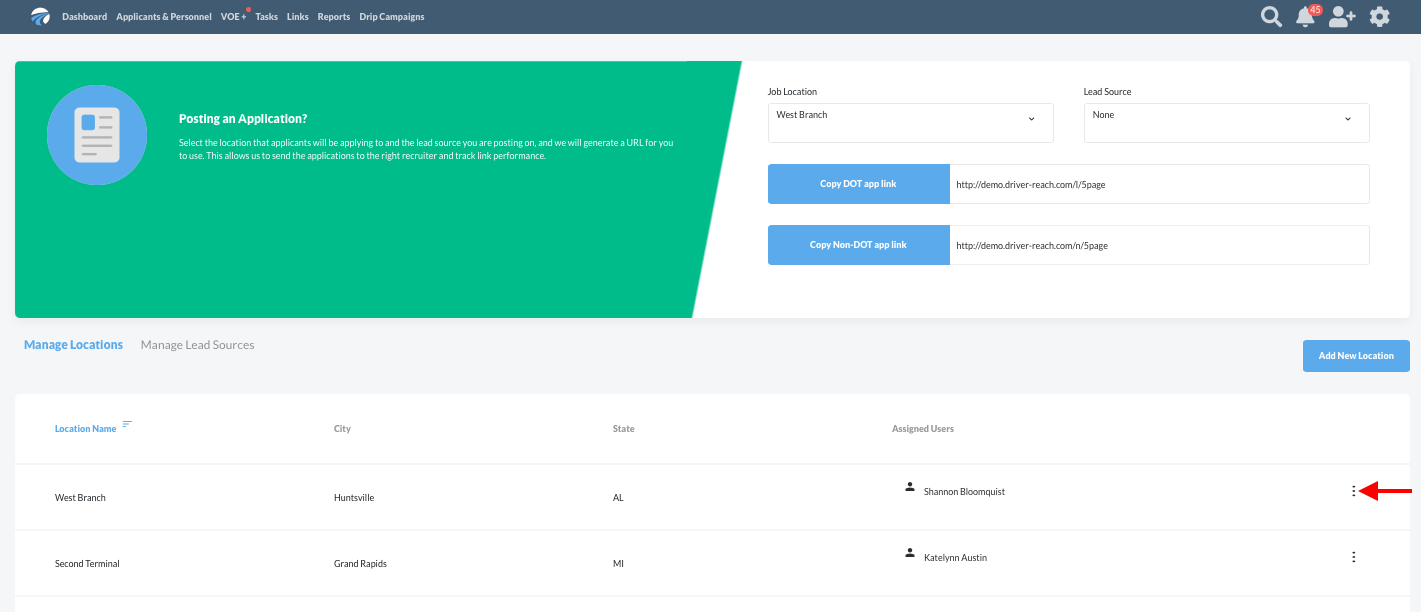
Once the information has been saved, the new location will appear in the “Manage Locations” chart.

Edit an Existing Location
Step 1
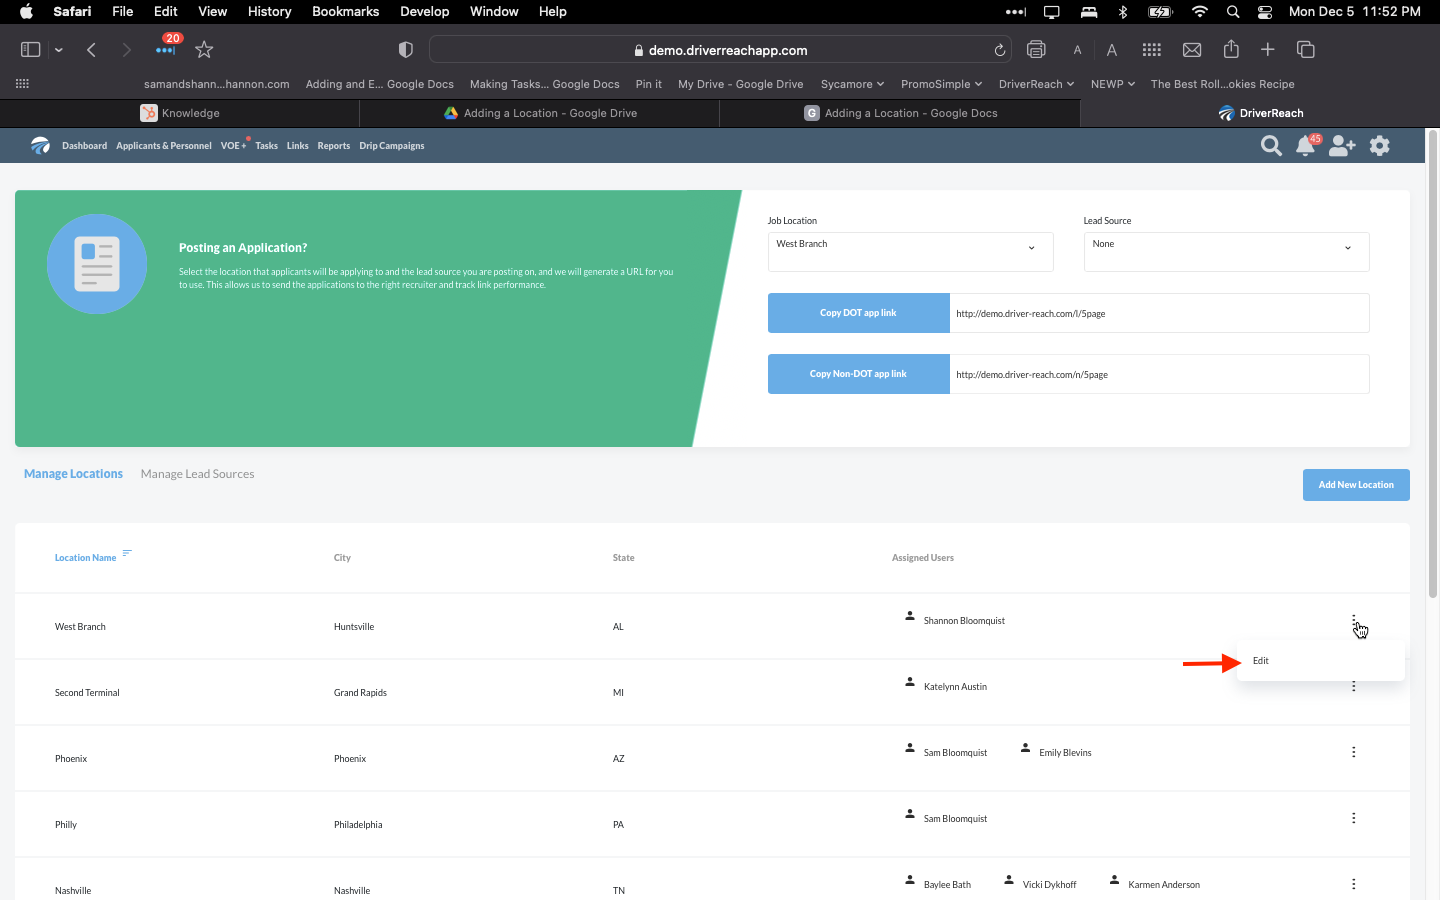
To edit an existing location’s information, click on the edit icon on the far right side of that location’s row. The edit icon looks like three dots stacked vertically, as illustrated in the image below.
Step 2
Click on “Edit” from the drop-down menu that appears.
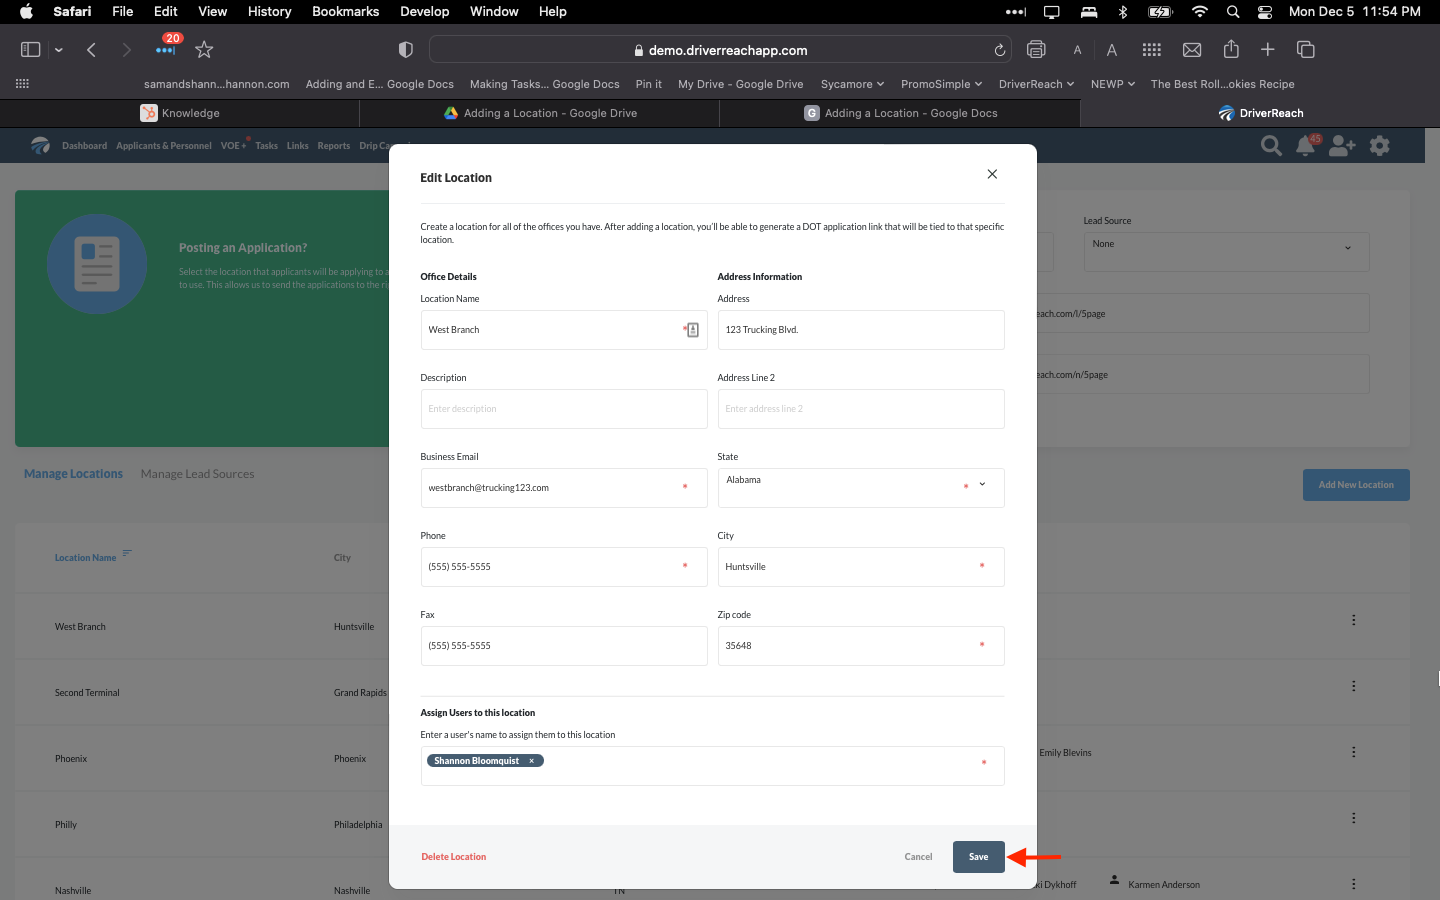
Step 3
In the pop-up window that appears, information from any field (required or optional) may be edited. Save changes by clicking on the blue "Save" button on the bottom right side of the window. Alternatively, selecting the white "Cancel" button will close the window without saving any changes.