Lead sources provide valuable data that can guide users in tracking the performance of job application links on various websites. By adding a lead source to correspond with every website upon which a job application link is posted, users can refine marketing strategies by using reports to evaluate the success of various lead sources. This article explains how to add a new lead source and how to switch a lead source for an individual applicant from the driver profile as well as for multiple applicants through the bulk actions feature.
Adding a New Lead Source
Step 1
Select the “Links” option from the main navigation bar menu.

Step 2
Select the “App Links” option from the drop-down menu that appears.

Step 3
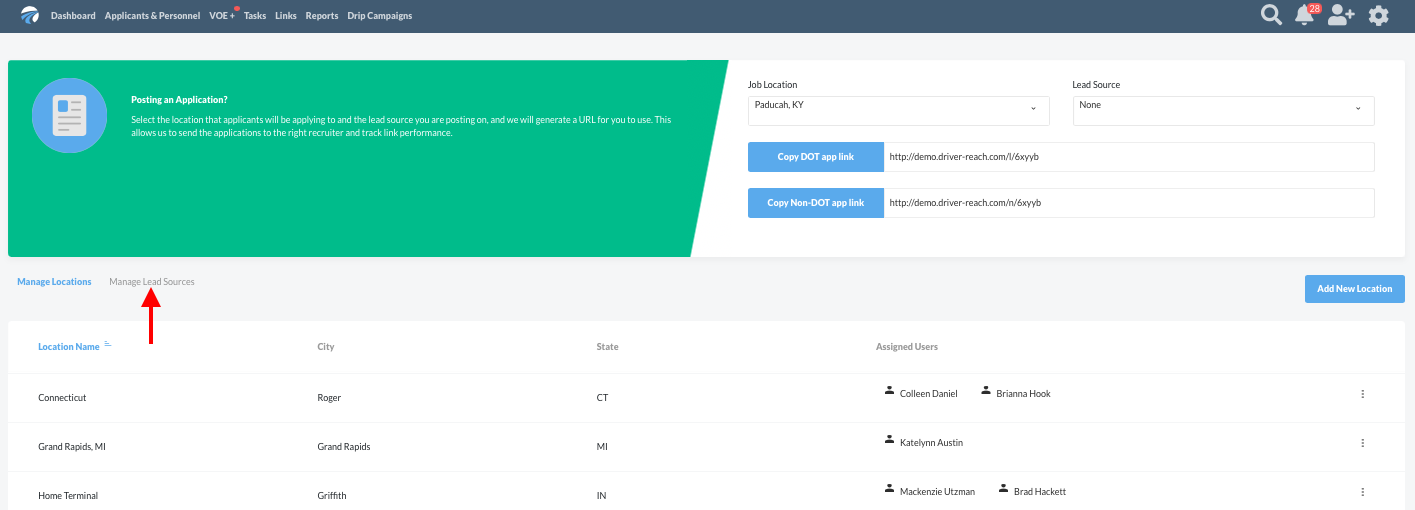
Select “Manage Lead Sources” underneath the green “Posting an Application” notification near the top of the page.
Step 4
The next page that loads includes a list of all current lead sources, which users may wish to scroll through to see if the lead source in question has already been added. If it is not present, click on the blue “Add New Lead Source” button on the far right side of the screen.

Step 5
In the “Add a New Lead Source” pop-up window that appears, type in the “Lead Source Name” and the “Description” in the free text fields. Select the “Lead Source Type” by clicking the drop-down menu for that field and clicking on the appropriate choice from the list.

Step 6
Click the blue “Create Lead Source” button to save the information entered; clicking the white “Cancel” button will close the pop-up window without saving any of the information.

Step 7
After saving, the new lead source will appear in the table among the other lead sources as highlighted below. It will also be available in the lead source drop down menu. Users are now able to create new application links for the corresponding lead source and location.

Switching Lead Sources
Conveniently, users may switch the lead source for an individual applicant from the driver profile as well as for multiple applicants through the bulk actions feature. Consistently updating the lead source records for individuals makes it possible to run accurate reports categorizing leads based upon which source brought them into the system. This invaluable data helps users determine the most successful lead sources and ultimately optimize marketing strategies by making informed decisions about where to post jobs and find the best candidates for available roles.
Switch the Lead Source for an Individual in the Driver Profile
Step 1
From any page within the DriverReach platform, search for the applicant by clicking on the the global search magnifying glass icon located within the right side of the blue bar along the top of the window and entering all or a portion of the applicant’s name, then hitting enter or return. Alternatively, users may use the “Search applicants” field in the same manner.

Step 2
Click on the name of the appropriate applicant from the results of the search.

Step 3
On that individual’s profile page near the name and contact information, locate and click on the blue edit icon next to the "Lead Source" heading on the left side of the screen.

Step 4
Select the correct lead source from the dropdown menu that appears.

Step 5
A small green notification will appear in the upper right corner of the screen confirming the lead source has been successfully updated.

Switch the Lead Source for Multiple Applicants Using Bulk Actions
Step 1
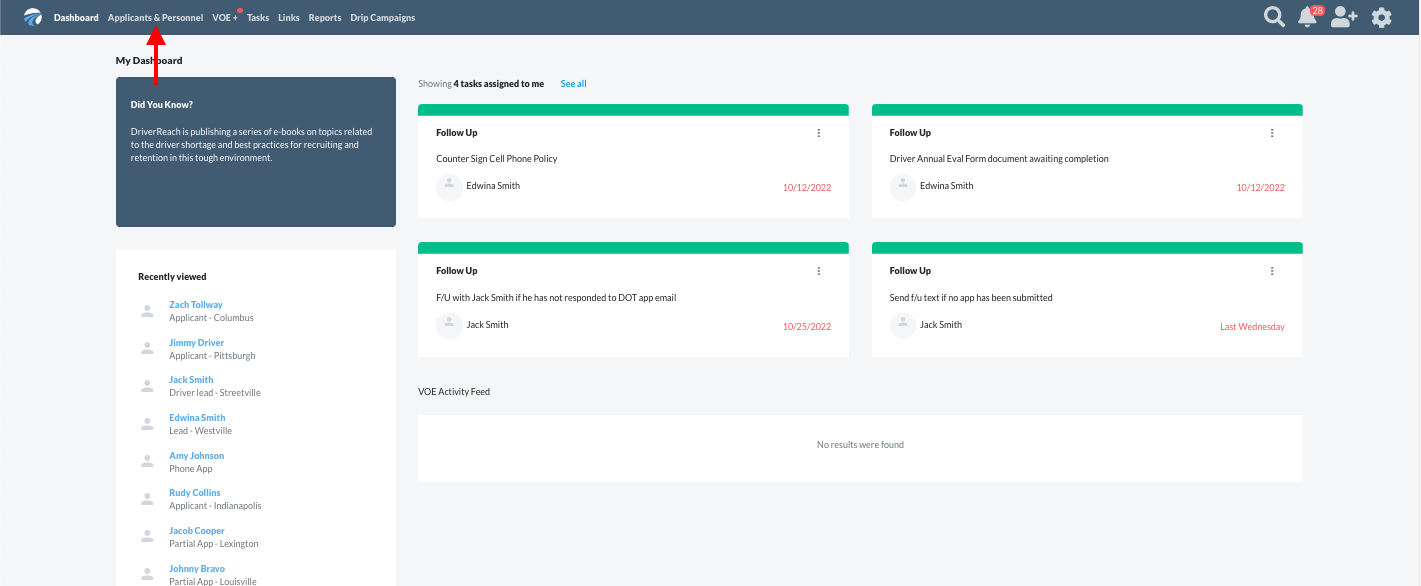
From the Dashboard, select “Applicants & Personnel” in the blue main navigation bar.
Step 2
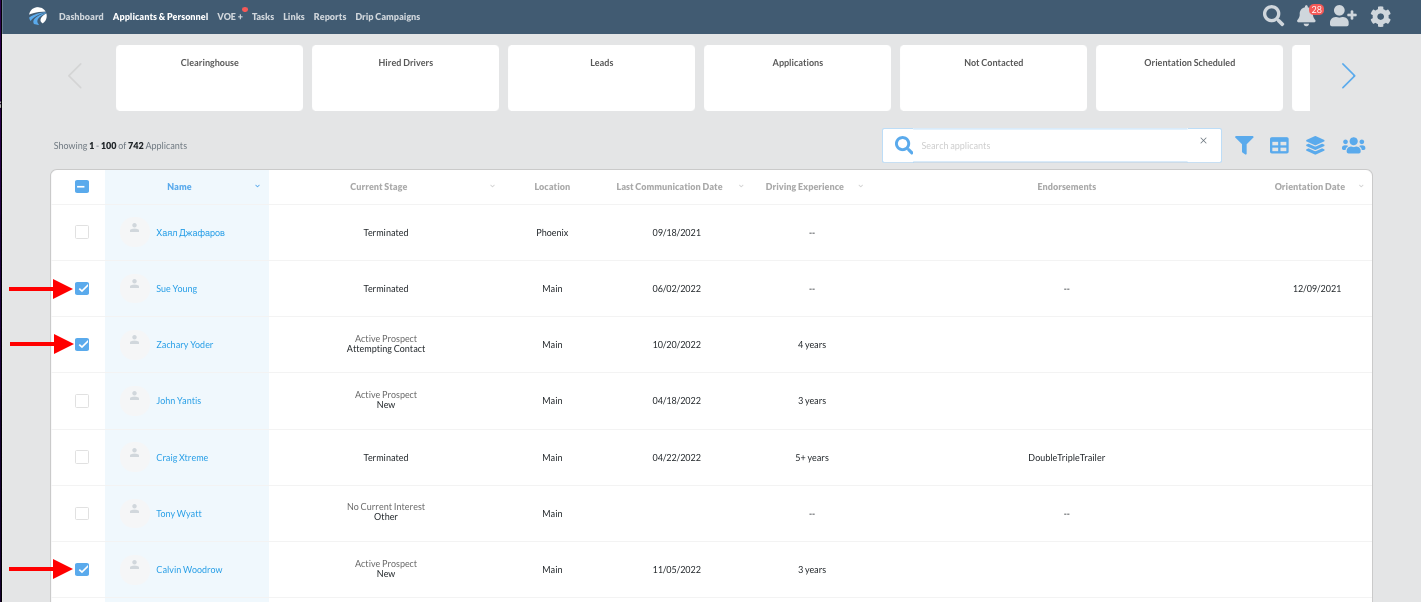
Select the appropriate applicant(s) from the list that populates on the screen by clicking on the checkboxes next to their names.
Step 3
Click on the blue “Bulk Action” icon in the upper right corner of the screen.

Step 4
Select “Set lead source” from the drop-down menu that appears.

Step 5
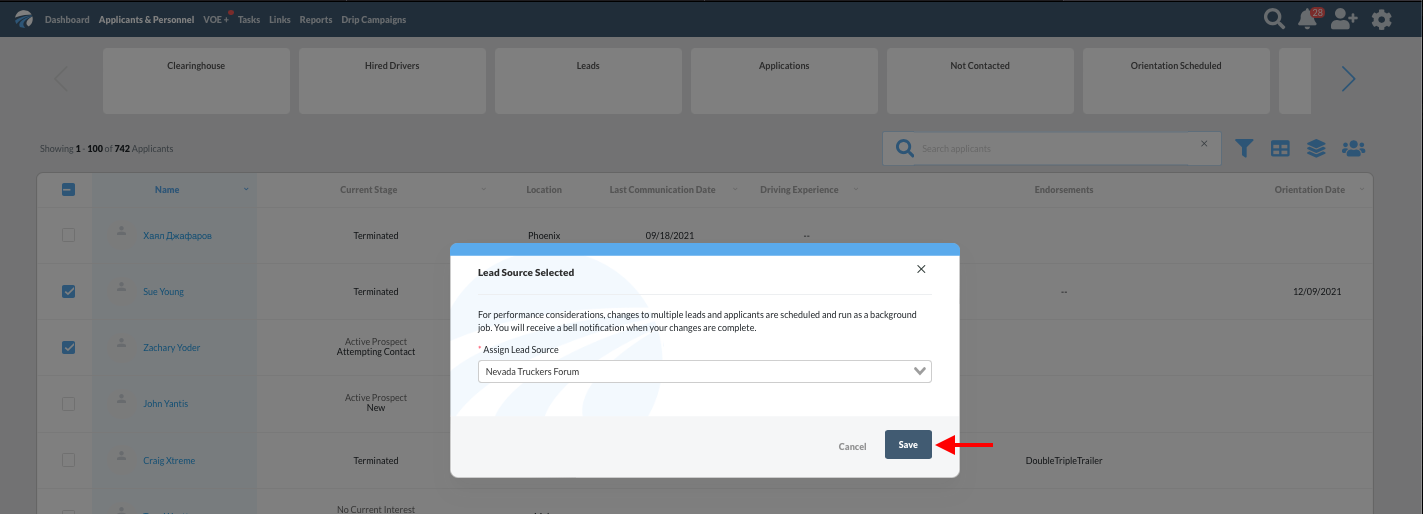
Click on the new lead source from the drop-down menu that appears.

Step 6
Click the blue “Save” button to update the selected records with the newly selected lead source; clicking the white “Cancel” button will close the pop-up window without saving any changes.
Step 7
A small green notification will appear in the upper right corner of the screen confirming that a job to update the lead source for the selected individual(s) is underway. Once the system completes that job, all selected records will be updated with the newly assigned lead source.
