This article explains how to add a previous employer to an existing application on behalf of an applicant.
Step 1
There are several ways to access the applicant for whom you would like to add an employer. From any screen, find the desired applicant by typing some or all of the individual’s name into the global search area after clicking on the magnifying glass icon located on the right side of the top blue menu bar. Alternatively, from the “Applicants & Personnel” page, you may employ any filters you would like to use for your search and then type some or all of the individual’s name into the “Search applicants” box on the right above the applicant table.

Step 2
Click on the name of the appropriate applicant to select that individual's record.
Step 3
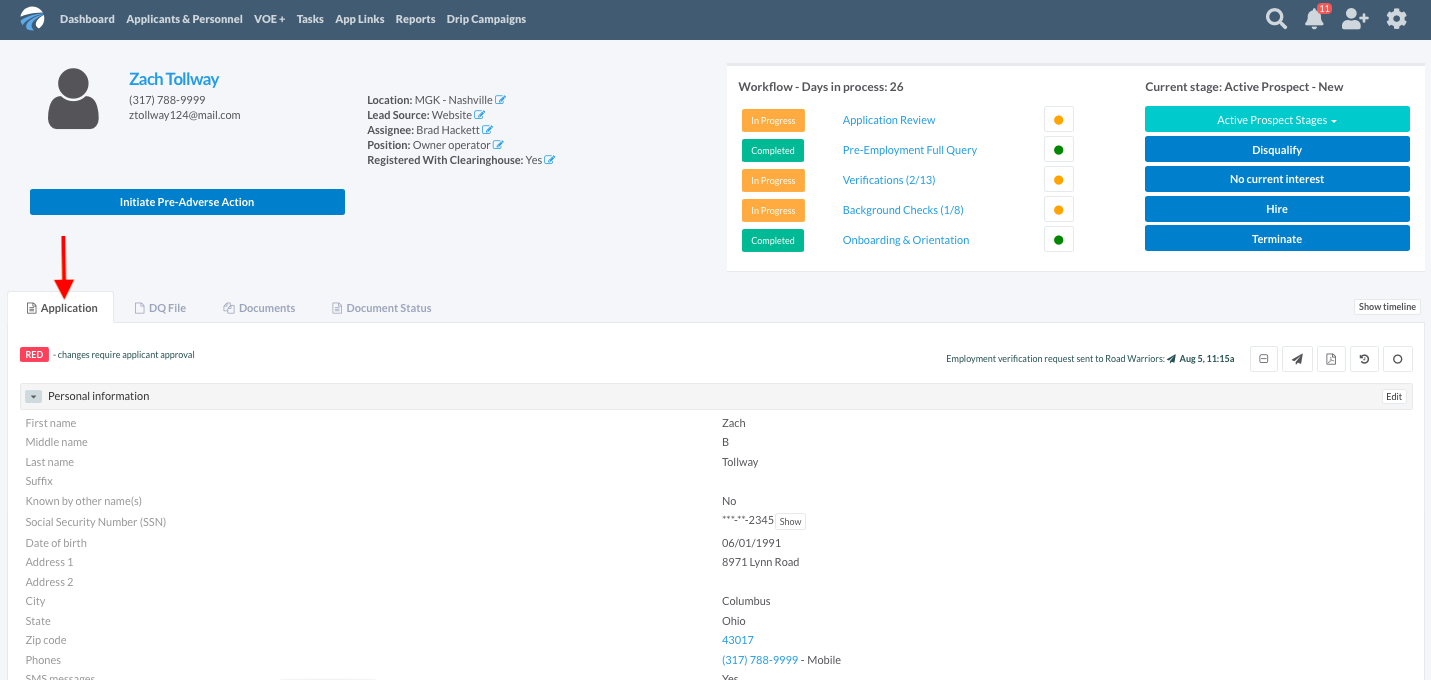
Select the "Application" tab located near the top of the window on the left side.
Step 4
Scroll down the "Application" tab until you see the "Previous employers" section heading.

Step 5
Select “Add New” on the right side of the "Previous Employers" section heading.

Step 6
A pop-up window will appear requesting information about the employer, such as the company name and contact information, whether this is the applicant’s current employer, and whether the applicant permits you to contact this employer.

Step 7
Once the requisite information has been entered correctly, click on the blue "Save" button.

Step 8
A green notification will appear in the upper right-hand corner of the window confirming that the previous employment information you have entered is saved and may be sent to the applicant for confirmation whenever you are ready. In addition, a pop-up window will appear confirming that you would like to send an employment verification request to this applicant’s previous employer. Click the blue “Yes, send now” button to do so; click the white “No” button to decline this prompt.

Step 9
Clicking the blue “Yes, send now” button results in an automated verification request like the sample request pictured below populated with 456 Trucking’s contact information provided earlier during Step 6.
