This article explains how to add a termination record for an individual hired within the DriverReach system as well as how to add a termination record for an individual hired outside of the DriverReach system.
Termination Records for Individuals Hired Within the DriverReach System
Step 1
There are several ways to access the applicant for whom you would like to add a termination record. From any screen, find the desired applicant by typing in his or her name into the global search area after clicking on the magnifying glass icon located on the right side of the top blue menu bar. Alternatively, from the “Applicants & Personnel” page, you may employ any filters you would like to use for your search and then type some or all of the individual’s name into the “Search applicants” box on the right above the applicant table.

Step 2
Click on the name of the individual to open his or her record.

Step 3
Within the employee’s profile, click on the blue “Termination” button within the “Workflow” section on the right side of the screen.

Step 4
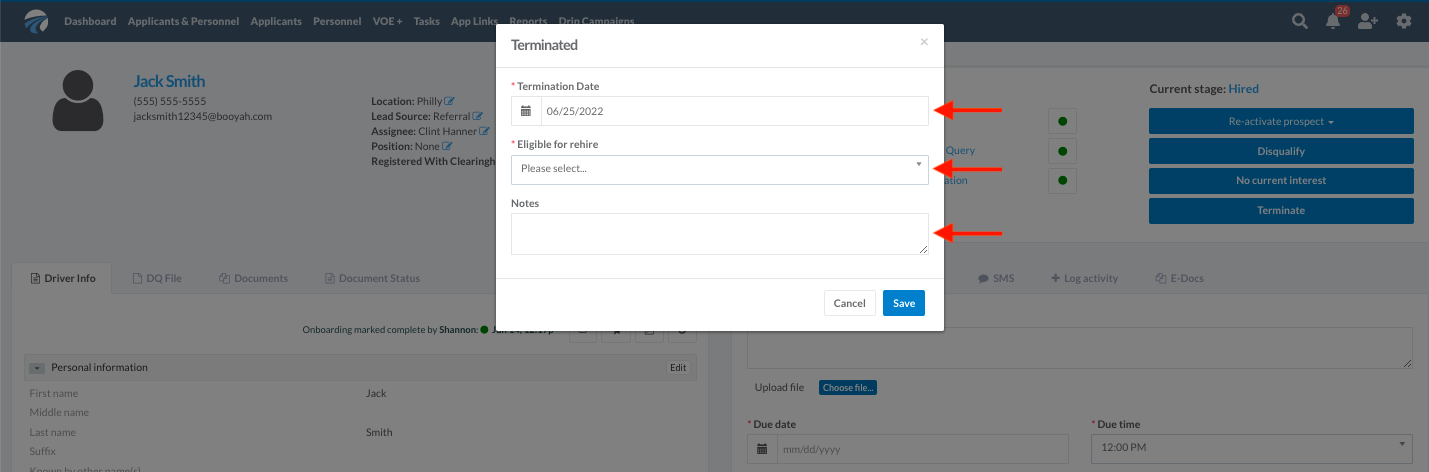
In the pop-up window that appears, fill in the termination date and select whether the individual is eligible for rehire. Answers for the fields marked with a red asterisk are required; the “Notes” section is optional.
Step 5
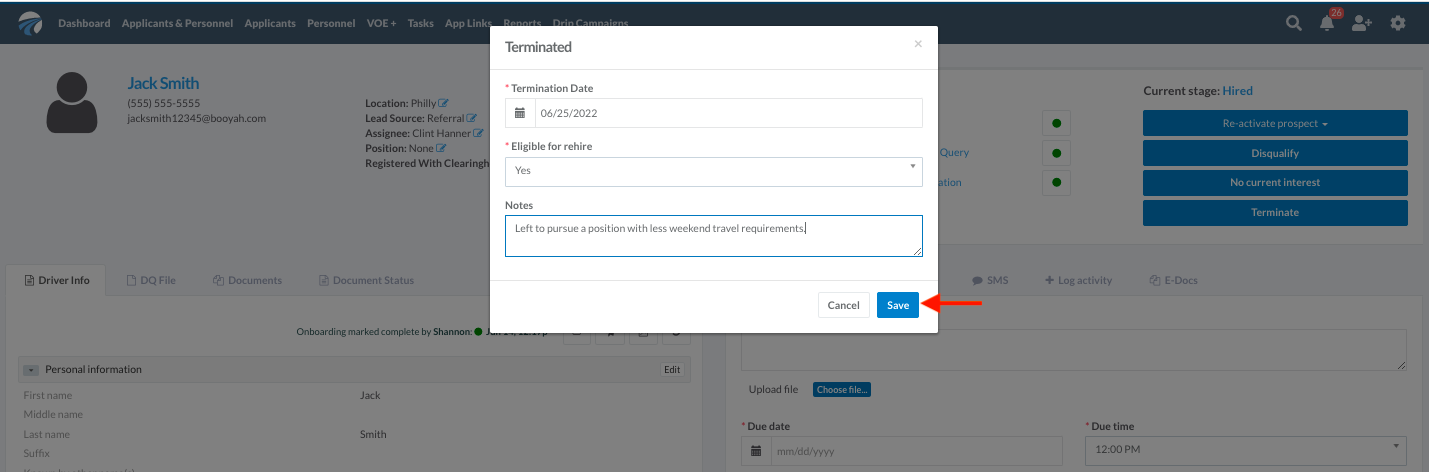
When the information is complete, click the blue “Save” button.
Step 6
A new pop-up window will appear requesting more detailed information to update the individual’s employment history. Note that answers for fields marked with a red asterisk are required; the remaining fields are optional. Depending on the answers given, the window may update to populate further details required to make sure the record is complete. Again, red asterisks note which fields must be answered before the record can be saved.

Step 7
Once the record is complete and you have checked the box acknowledging the Fair Credit Reporting Act, scroll to the bottom of the pop-up window and click the blue “Save” button.

Step 8
A small green notification will briefly appear in the upper right corner of the screen confirming that a new employment record was successfully saved. The termination record is complete and stored on VOE Plus for purchase by future companies who request verifications.

Termination Records for Individuals Hired Outside of the DriverReach System
Step 1
Starting on the “Dashboard”, select “VOE+” from the main navigation menu.

Step 2
Select “Applicant history” from the drop-down menu that appears.

Step 3
Since this applicant is not yet in the DriverReach system, click on the blue “Add applicant” button located on the “Applicant history” tab.

Step 4
In the pop-up window that appears, fill in the required information. Note that if you input a social security number the system recognizes, it will populate the rest of the required fields accordingly. Entering a new social security number will require that the fields marked with a red asterisk be filled out; those without a red asterisk are optional. Click the blue “Next” button once the information has been entered.

Step 5
A new pop-up window will appear requesting more detailed information to update the individual’s employment history. Note that answers for fields marked with a red asterisk are required; the remaining fields are optional. Depending on the answers given, the window may update to populate further details required to make sure the record is complete. Once the record is complete and you have checked the box acknowledging the Fair Credit Reporting Act, scroll to the bottom of the pop-up window and click the blue “Save” button.

Step 6
A small green notification will briefly appear in the upper right corner of the screen confirming that a new employment record was successfully saved. This individual’s termination record is now complete and stored on VOE Plus for purchase by future companies who request verifications.
